Table of Contents
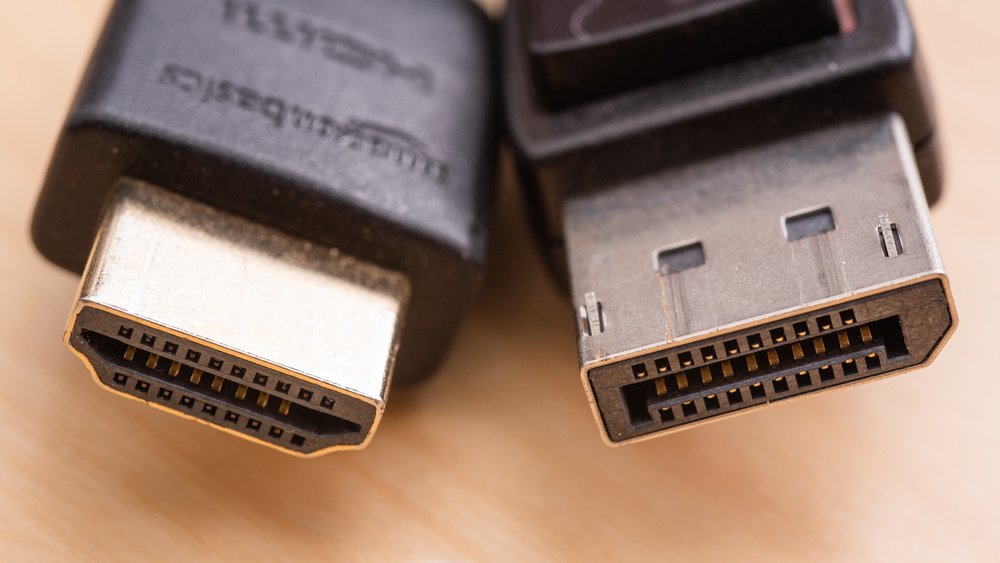
HDMI (High-Definition Multimedia Interface) cables transport digitized audio and video information between electronic systems like a computer and high-definition television (HDTV). The cable connects to the HDMI port on the backside of these electronics, which has a distinguishing six-sided connector on each extremity. The 19 steel connector wires in each socket correspond to the 19 slots in an HDMI cable. High-definition video and up to 8 streams of digital recording are transmitted via the ports. When it comes to tech upgrades, the need for an HDMI cable does not warrant acquiring a completely new system. Switching to an HDMI connection can be as easy as buying a few minimal components and/or an interface. Nowadays even printers are coming with HDMI cables to connect to the PC. Check out these awesome and best printers under 300 which come with HDMI cables.
The first thing you’ll need until you can experience the benefits of HDMI is a powerful graphics chipset. And unless you’re a dedicated player who requires a significant graphics card for intensive gaming visuals, an inexpensive and reasonable-priced card will suffice. You’ll need to replace your existing card when you’ve purchased it.
Don’t worry, that’s not a difficult installation procedure. On an old desktop, removing and changing the peripherals takes only minutes.
However, updating a computer is significantly more difficult, so if you have an outdated computer, consider using only adapters.
Upgrading to HDMI
Step1: To commence the installation, remove the covering of your computer by unscrewing the external bolts. The covering should be able to maneuver off, revealing the motherboard and other parts of the system.
Step2: If you’ve solely used CPU and GPU up to this point, finding an open PCI card reader is a piece of cake. Insert your fresh HDMI-enabled graphics card into one of the available PCI slots.
Step3: Lock your system by slipping the original case on again and tightening all of the bolts you loosened after removing the PC case.
Step4: Once a card has indeed been correctly inserted and immediately identified, reinstall the visual card’s driver and software. The program will come with the cards and should boot up immediately.
Using HDMI on PC
Step 1: Connect either endpoint of a Connector to the HDMI Output pin just on the backside of the computer’s central processor unit (CPU) or the computer’s back corner. To accommodate the outlet, the broader end of the connector must be rotated upwards.
Step 2: Attach another tip of the cord to an HDMI Input terminal on some other electronic codec, such as an HDTV.
Step 3: Watch for the “New Hardware Detected” notice to appear on the screen or laptop’s display after turning on the device.
Step 4 In the device’s control center, double-click “Display Settings” to change the display outputs to the HDTV. The user can alter the quality from the pc to a range permitted by the HDTV by selecting the “Custom” tab beneath the settings panel. To find out what resolution your HDTV has, look it up in the instruction booklet.
Step 5: Select “Save Settings” from the drop-down menu.
Step 6: Attach the device to the Network and send Web material to the HDTV. DVD or Blu-ray discs can be replayed from the device’s DVD or Blu-ray player to watch films on the HDTV with multichannel audio.
Using an Adapter to View HDMI on a Screen
If updating your pc and messing with parts seems like there is plenty of work, or if you just have a laptop, not all is over. By using an adapter, you can continue to enjoy HDMI and HD image quality.
Know that you do have an analog signal if you do have a laptop or personal computer. Your system is most likely using a VGA connector, which is a three-row and 15-pin analog cord that does not transmit audio and has poor visual quality.
That being said, you can transform the VGA signal from your desktop or laptop to the digitized HDMI format of your HDMI screen and experience all of the photo quality advantages that HDMI provides.