Are you looking for a guide to hide the Netgear extender’s SSID? If the answer is yes, then we’ve prepared one for you. Needless to mention that due to the increased number of hackers these days, hiding the extender’s Netgear_ext SSID has become essential. It reduces the chances of your Netgear extender’s WiFi network being accessed by unauthorized users.
Now, without any delay, let’s move ahead to the steps to hide the Netgear extender’s SSID.
Steps to Hide Netgear Extender’s SSID
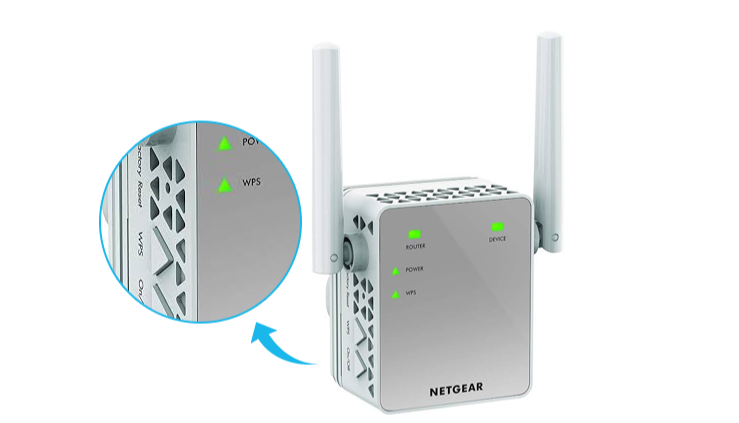
- Power Up Your Netgear Extender
- First of all, plug your Netgear wireless range extender into an active wall outlet.
- Press the Power button.
- Now, wait until the power LED becomes solid green.
- Connect Your WiFi Devices
- As soon as the power LED on your Netgear range extender stabilizes, grab an Ethernet cable.
- Connect one end of the Ethernet cable to the range extender and another to the home router.
Note: You can also opt to connect your WiFi devices using a wireless source.
- Access Mywifiext.net
- Once you establish a connection between your Netgear extender and the router, switch on your PC.
- Open your favorite web browser and navigate to its address bar.
Type mywifiext.net into it and press the Enter key.
You will get welcomed by the Netgear extender login page.
- Log in to Your Netgear Extender
- Now, fill in the default mywifiext.net login details into their respective fields.
Thereafter, click the Log In button. - The Netgear Genie smart setup wizard will be displayed.
- Go to the Settings Menu
- On the Netgear Genie smart setup wizard, click the Settings tab.
- Select the Wireless Settings option.
- The Wireless Settings page will come into view.
- Uncheck the ‘Broadcast this Network Name (SSID)’ option for the 2.4GHz frequency band.
- Do the same for the 5GHz frequency band.
- Click the Save button and let the changes be effective.
In this way, you can hide the Netgear extender’s SSID. Now, the extender’s Netgear_ext will no longer appear on any network list. Therefore, minimal risk of your WiFi network being accessed by unauthorized users.
Although the process to hide the Netgear extender’s SSID is not complex, still some users find it difficult and are unable to execute the process successfully. If you are also one of them, then we recommend you follow the below-mentioned troubleshooting hacks:
Tips to Successfully Hide Netgear Extender’s SSID
- Ensure that your Netgear range extender is receiving a fluctuation-free power supply. If your area suffer more power outages, consider using a UPS.
- If the power LED doesn’t turn green, then reboot your extender. Once done, proceed with the steps to hide the SSID.
- Do not use a worn out Ethernet cable to connect your Netgear WiFi extender and the router. Also, make sure that its both ends are properly connected to the WiFi devices.
- Type the default username and password of the Netgear extender carefully as they are case-sensitive. If you are unsure about them, refer to the Netgear user manual. Also, turn the Caps Lock key on your keyboard off while entering the default login details.
- Update the web browser and clear the cache, cookies, and browsing history before accessing the Netgear extender login page.
- Temporarily disable antivirus software and firewall on your router before proceeding to access mywifiext.net.
- Do not turn off your Netgear extender or refresh the web browser while hiding the SSID.
Conclusion
Here, we wrap up our guide to hide the Netgear extender’s SSID. We hope that you will be able to hide the SSID of your extender with the help of the aforementioned steps. If you liked reading the article, don’t forget to leave a word of appreciation in the comment section.
click here for more articles.